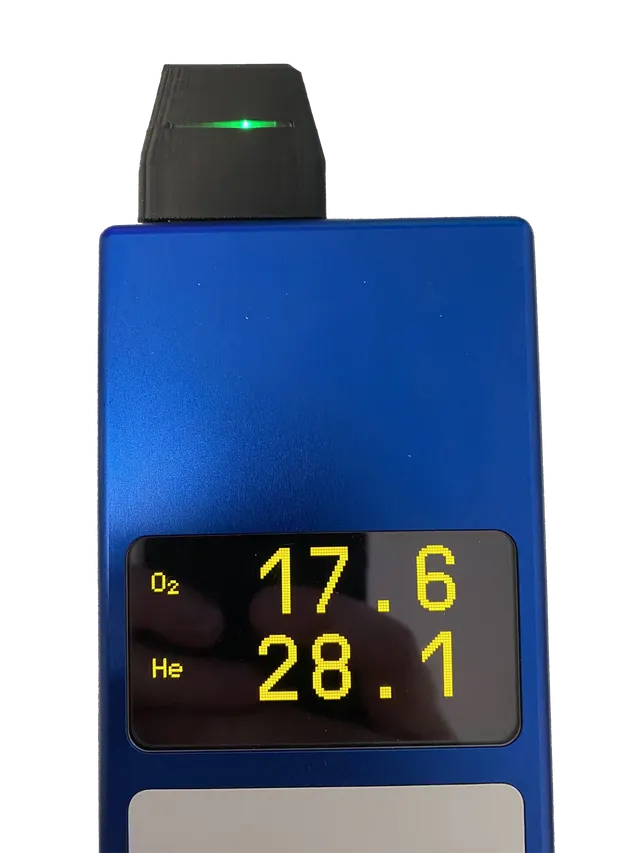
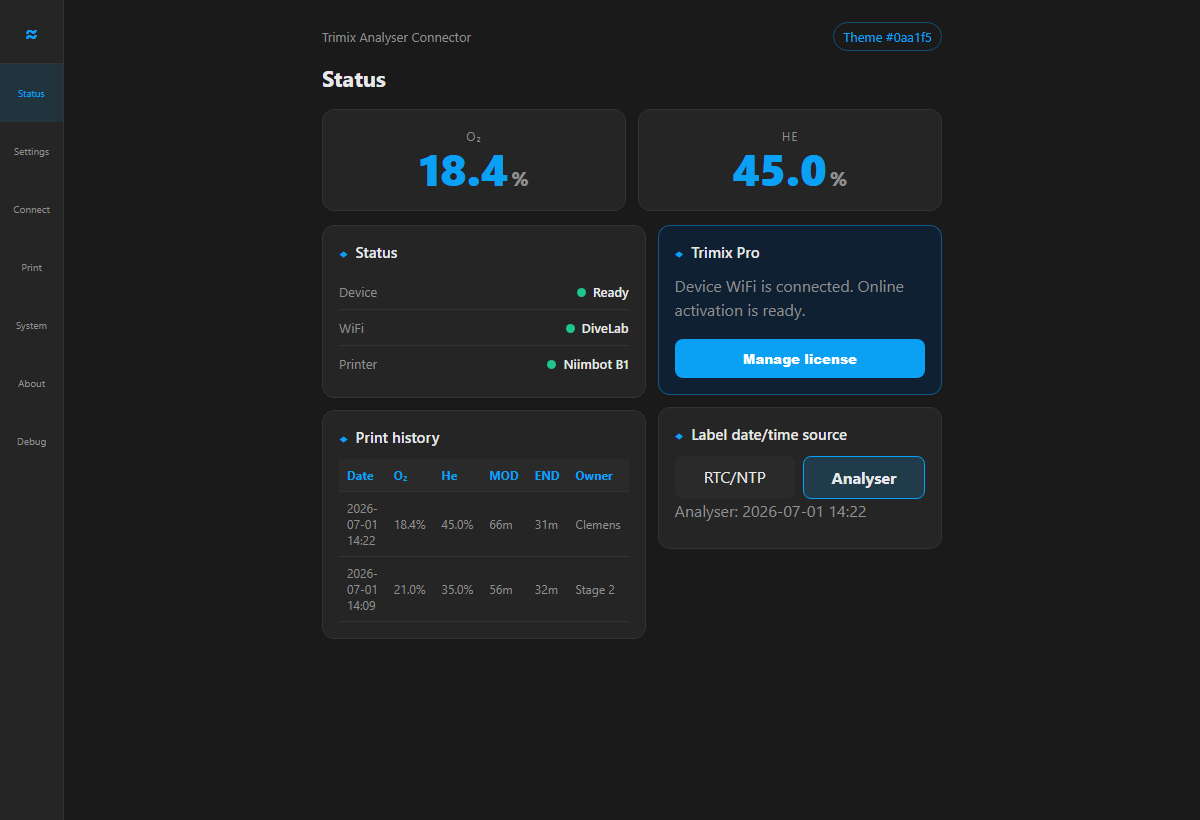
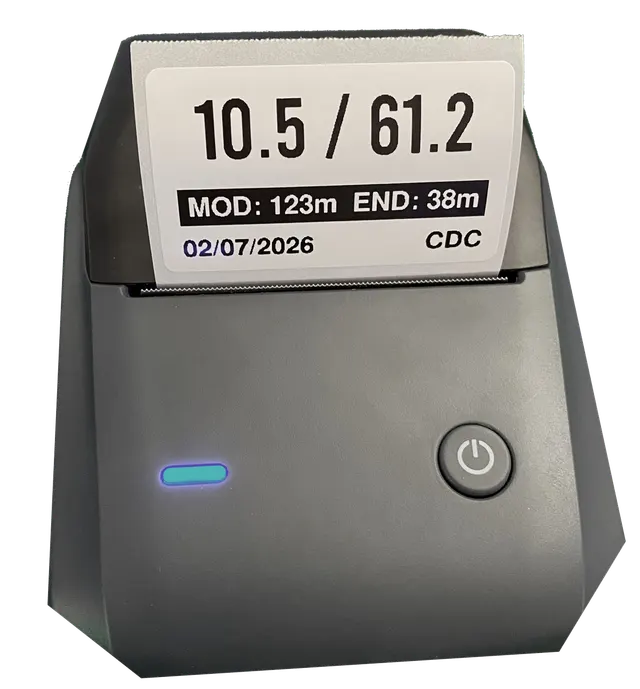
The connector converts the oxygen and helium values you have already checked on the Divesoft display into a compact Niimbot label. It reduces handwriting, but it never decides whether a gas is correct or suitable for a dive.
Read and accept the gas on the Divesoft analyser first. Compare every printed O2, helium, MOD, END, date, and owner field before attaching the label to a cylinder.
What is printed
Basic Nitrox labels or full Trimix Pro labels
Trimix Basic — free
Installs without payment or an activation code.
Receives Divesoft analyser readings.
Prints basic Nitrox-style oxygen labels.
Lets you test the board, data connection, and Niimbot workflow first.
Enable Divesoft data output.Select Menu → Preferences → Send Data to USB → On on the analyser. Some versions call the option Data output.
Confirm live O2 and He data
Open the adapter Web UI.Join TrimixAdapter-XXXX, enter the setup password, and open http://192.168.4.1/. Add home Wi-Fi if you want time sync and OTA updates.
Configure Print and Settings
Pair the printer.Charge and switch on a Niimbot B1 or B21, close its phone app, load suitable gapped stock, then scan and save the correct printer in the adapter’s Print tab.
Use supported stock and printer
Set label fields.Select the owner initials, pO2 limits, water type, END narcotic model, and optional gas-density field. Confirm the date/time source before printing dated labels.
Review Print and Settings tabsFields must match the planned workflow
At the cylinder
Analyse first, then trigger one label
Pause-to-print
Wait for a stable reading.
Check O2 and helium on the Divesoft display.
Pause the analyser for the configured delay; the default is three seconds.
The connector prints one label from the stable reading.
Let the analyser readings resume before printing again.
Optional physical button
Wire the optional momentary button between GPIO7 and GND.
Press and release it only after the current reading has been checked.
The button remains independent from automatic repeat protection.
Do not trigger again while a print is in progress.
Discard any partial or questionable label.
Automatic pause printing has configurable repeat protection. After an attempt, new automatic pause prints are blocked for 15–300 seconds (30 seconds by default), and valid data must resume before the trigger is re-armed.
Before the label touches the cylinder
Use a fixed verification checklist
Compare against the analyser
Oxygen percentage
Helium percentage for Trimix
MOD at the intended pO2 policy
END using the selected narcotic-gas model
Date/time and owner initials
Reject the label if
Any field differs from the accepted analyser result or plan.
The label is partial, faint, cropped, smudged, or ambiguous.
The date, initials, MOD, water type, or END model is wrong.